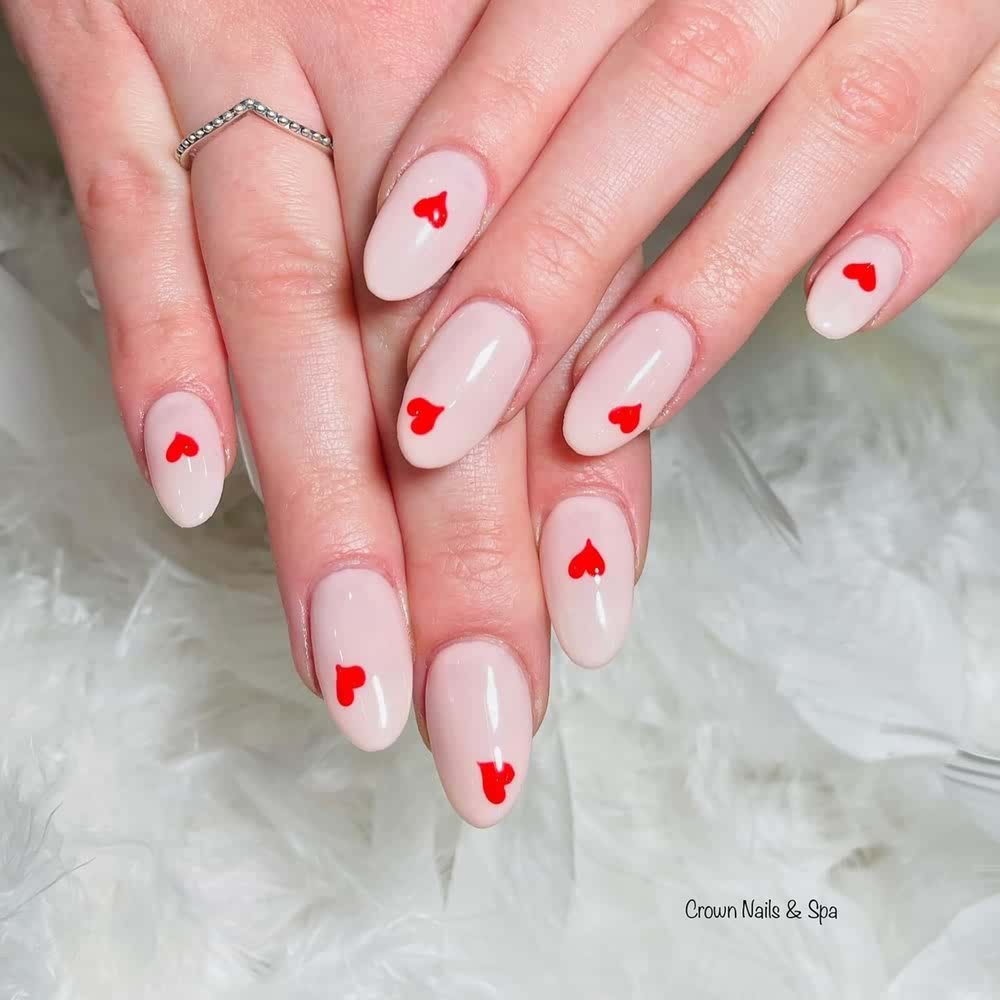
Nails
Trending: Fast & Easy Ombrés Nail Designs
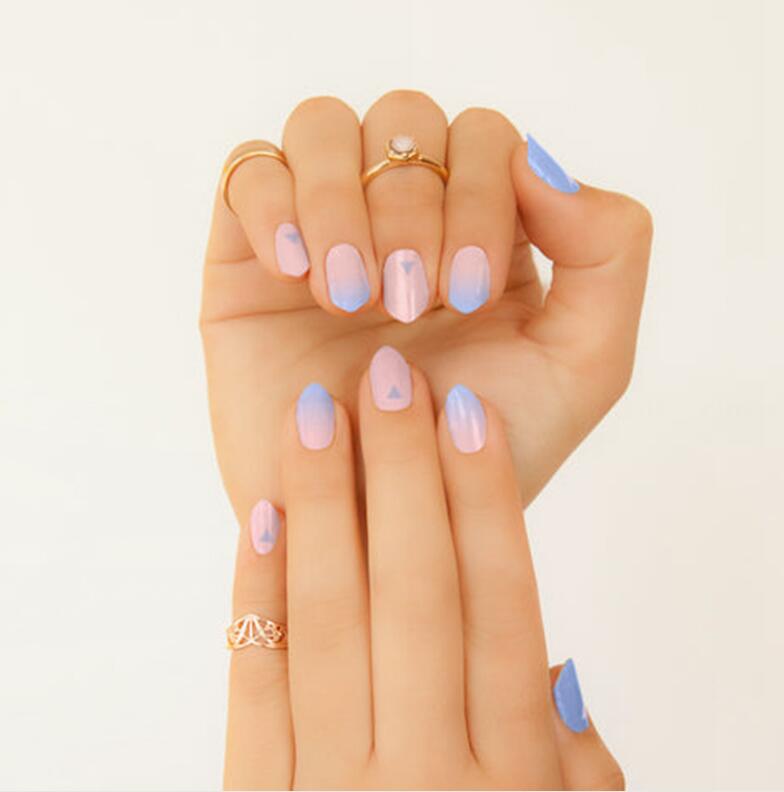
Gradients, or ombré, has become a hot trend in the nail art world. This simple look can be used to create a subtle or loud statement. Getting the look with old fashion polish can be obnoxious and stinky – so NailSnaps saves the day!
Photos of sunsets provide pretty gradients. You can also Google “gradients” for more color options (searching ombré will only give you hair). If you want custom gradients, you can create them yourself with image editing tools like Adobe Illustrator or Photoshop OR you can easily create gadients with the mobile app Prismatic. I downloaded and sampled a number of different apps and websites, and unless you have Adobe, Prismatic is the best option for NailSnaps.
Creating your gradient

Download and open Prismatic. Delete the existing colors on the screen (black and white) by tapping on them. Then tap on the following:
- “Gradient”
- “Go to Color Picker” (bottom right corner of the popup)
- Slide your finger around the screen to select a custom color
- Tap the “+” button to add the color to your gradient.
- Repeat steps 3-4 until you have your desired gradient.
- “Close”
- Now tap on “Direction”
- Move one of the white circles closer to the middle. This is important as your gradient colors need to be close to each other.
You can see all the steps in this handy 20 second video I made here.
Now, open your gradient in NailSnaps! The rest is pretty self explanatory. I only have one caution:
Mind the Dotted Line!

When designing your gradient nails in the NailSnaps app, keep your entire gradient in the area between the cuticle and the dotted line. This is important. If you go beyond the dotted line, you may end up filing off the prettiest part when you apply the look on your hand and then you won’t have a gradient at all. Put your gradient uncomfortably close to the cuticle. Trust me on this.

Now that you know the basics, get creative! Try reciprocal gradients (see below) by stitching together different gradients, jazz it up with some glitter polish, or just go crazy. Ombré NailSnaps are also my favorite base to do shattered glass nails.


The world is your ombré oyster.