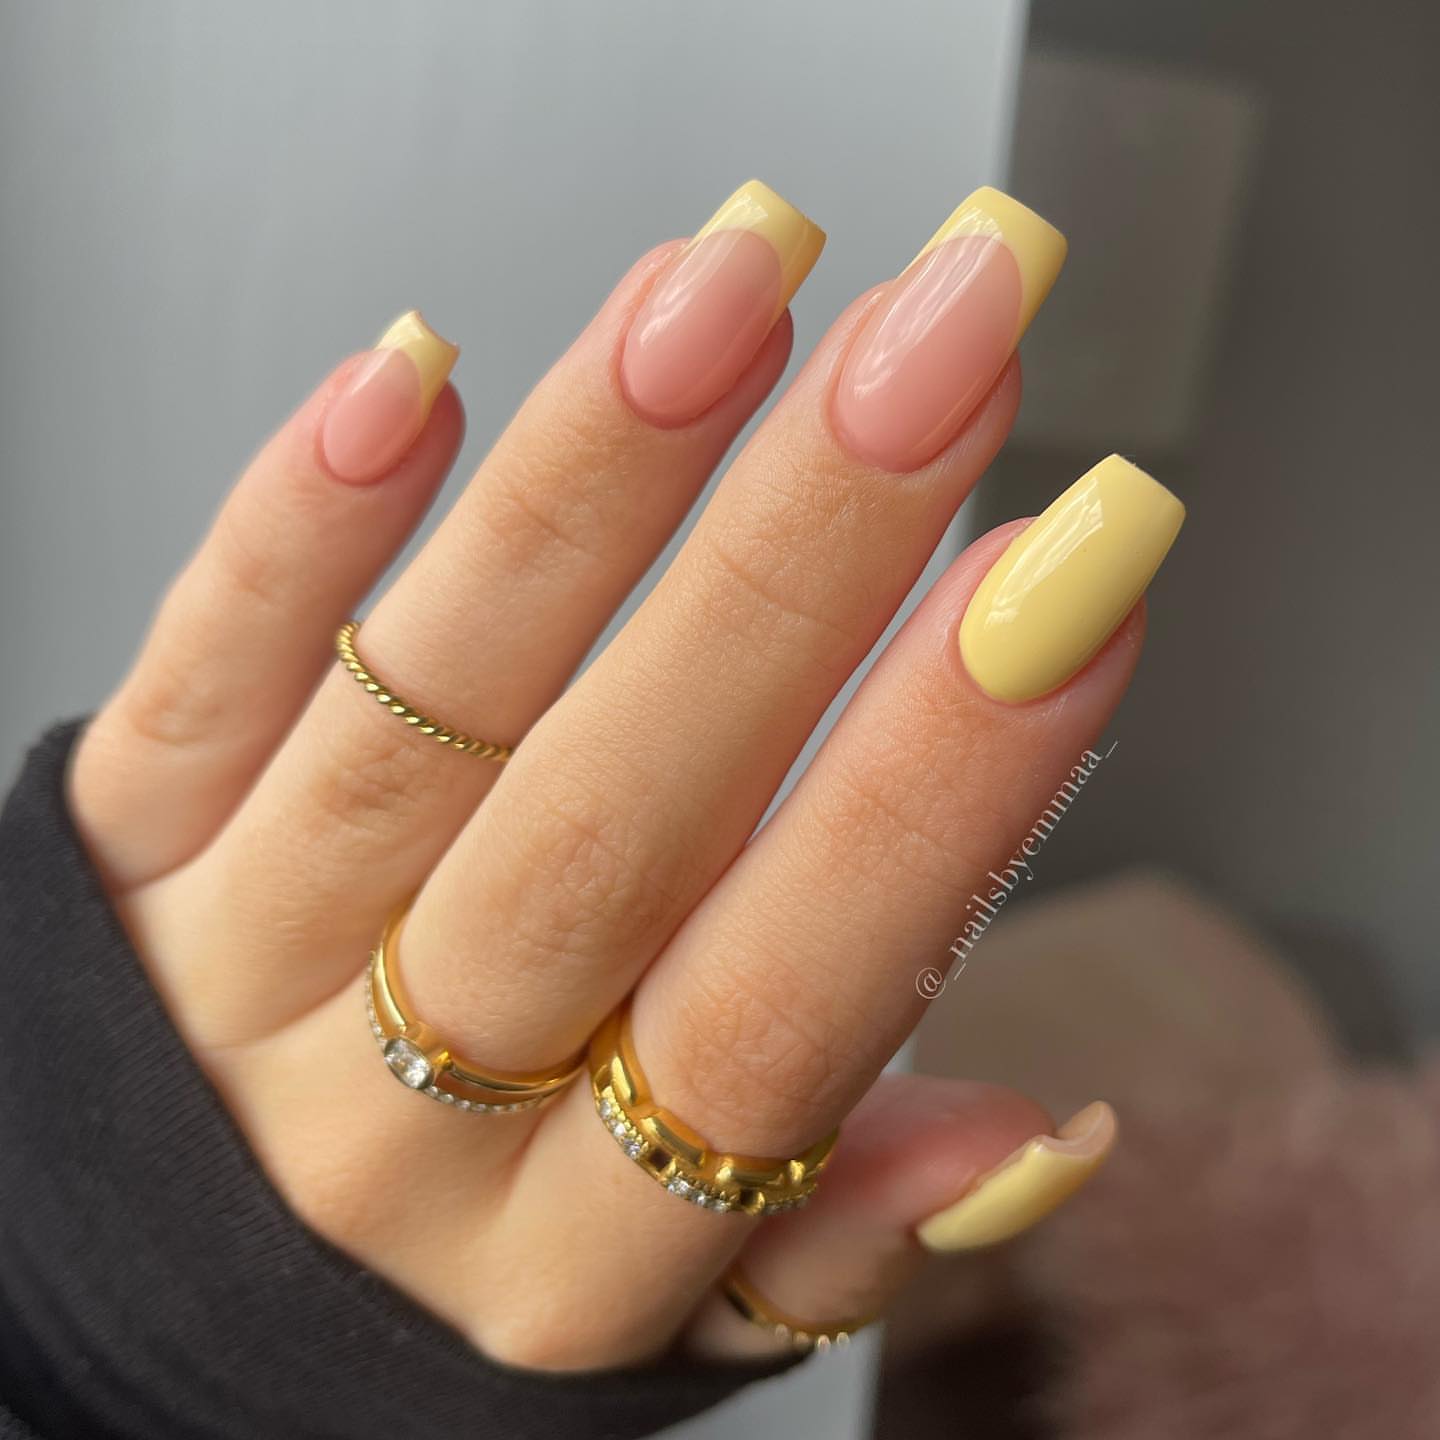
Nails
How To Apply Nail Wraps [DIY] Simple Steps
These tips will help you apply NailSnaps so they look and last beautifully. Let’s do this!
Start with clean, dry nails.

NailSnaps can be applied on bare nails, over polish, on acrylics, and even gels. Push back your cuticles so you have a clear, smooth nail surface.
Wash your hands or swab your nails with alcohol to remove nail oil, moisturizer, sunscreen, and anything else that could prevent the adhesive from sealing to your nail.
1. Choose Regular or Petite nail width.
NailSnaps come with 20 nail wraps and each finger is labeled on a Petite or Regular width sheet. Feel free to mix and match – you might have a regular width pointer and a petite pinky. Select the width that works best for your specific nail.
2. Peel the nail wrap from the SQUARE side.
Peel the selected wrap from the sheet from the square side. This is the part that will get filed away as excess. Be sure not to touch the adhesive on the round side to anything other than your nail so that it keeps it’s stickiness for putting it on your nail.
3. Place the round side at your cuticle
Align the round edge of the wrap at – but not on – your cuticle. Press and smooth the wrap into place in a circular motion: starting at the cuticle, down one side, across your nail tip, and then back up the other side. A tight, wrinkle free seal at the tip is the key to making your mani look great and last long. (Pull and stretch a little if you encounter wrinkles and check out the troubleshooting tips below.) Yay! We’re almost done.

4. File off the excess length.
Use the included nail file, to file off the excess length. File with downward strokes only at a right angle to your fingernail tip. Do not file side-to-side because nail dust and grit will be shoved under the wrap and ruin the adhesive so your tips wont don’t stick as well.

Once you’ve filed down the wrap at the tip, the excess length can be pulled away with a gentle tug. Easy peasy. If it requires too much effort, file it a bit more.

Use the fine grain (pink side) of the file to smooth out any jagged edges until your nail tip is nice and smooth. Again, file in downwards strokes only!
Top Coat
NailSnaps are glossy right out of the box to give you an Instagram-worthy manicure in minutes. Pro tip: apply a top coat and cap your tips for extra stay, seal, and shine.

We like Sally Hansen Miracle Gel Top Coat or Dr. MarVey’s Flash Dry Top Coat
Troubleshooting
Most customers say that NailSnaps are the easiest brand of vinyl wraps they’ve tried but if you encounter issues, there’s probably an easy fix. Don’t worry! We’ve got you covered.
If your wraps seem rigid or hard to work with…
Warm ’em up! NailSnaps are made of ultra-thin, salon-quality vinyl which means that they’re sensitive to temperature. If the NailSnaps (or your fingers) are cold, warm them up for optimal application. Sit on them or blast ’em with a hair dryer.
If the wraps are too WIDE for your nails…
Be sure you’re using wraps from the Petite width sheet and placing the ROUND edge of the wrap at your cuticle. If there’s still too wide, trim the sides.
If the wraps are too NARROW for your nails…
Be sure you’re using wraps from the Regular width sheet. You can also try wearing them with the wider SQUARE edge of the wrap at your cuticle. Some people with very wide, short nails even wear the wraps sideways.
If you have square-shaped cuticles…
Put your NailSnaps on backwards. Peel from the round side instead and place the square side at your cuticle. We very designed the square end to be squoval (square/square + oval) for that reason 😉
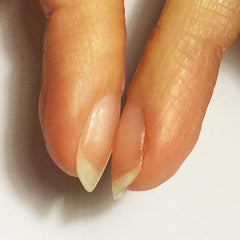
If you can’t seem to avoid wrinkles…
This is most likely due to having nails that curve in more than one direction: side to side AND cuticle to tip. You can tell if you have curved nails if you push two nails together and they can only touch a little – like a little kiss.
Wrinkle Fix 1: Heat ♨️
NailSnaps are vinyl, so they are sensitive to temperature. This method can be very helpful for preventing wrinkles if you live in a cold climate OR you have very curved nails.
- Sit with a hairdryer on your lap, facing away from you so both of your hands are free as shown in the image below:

- Place the round edge at – but not on – your cuticle and press the wrap to the base of the cuticle to give it a place to anchor to.
- Turn the hairdryer heat on. While lightly holding the excess edge of the wrap, dip your nail into the heat stream of the hairdryer. Like magic, the nail wrap will shrink wrap and curve to your fingernail! Use your fingers to coax the wrap down while holding your hands in the heat. This process should only take 5 seconds.

- Now fold the excess over the tip and file it away in downward strokes just like you would with regular application. If any other minor wrinkles appear, blast the wrinkle with heat again, and beat that wrinkle into submission by pressing and smoothing it away.


Wrinkle Fix 2: Seam Cutting✂️
If heat isn’t an option, try the seam cutting method. For this technique, it’s best to use NailSnaps with busy, asymmetrical patterns but for this tutorial, we used a nearly solid color design so you can see more clearly.
- As explained in the basic application steps, press and smooth the nail wrap onto your nail in a circular motion – starting from your cuticle, down one side, across the nail tip, and then up the other side.
- Force a wrinkle into a tight seam. For curvalicous nails, pressing in a circle forces a single, intentional wrinkle towards the cuticle on the back side of your nail. The tip of your nail is the part that needs the tightest seal so putting the wrinkle in the back is a must. Pinch the wrinkly to form a tight flap.
- After, you file off the excess wrap length (remember to file in a downward motion!) use a cuticle slicer or nipper to slice or trim off the flap. You are the boss of your wrinkle loss.
- Apply a hefty top coat to seal the seam!


Okay gorgeous! Enjoy your long-wearing NailSnaps mani!