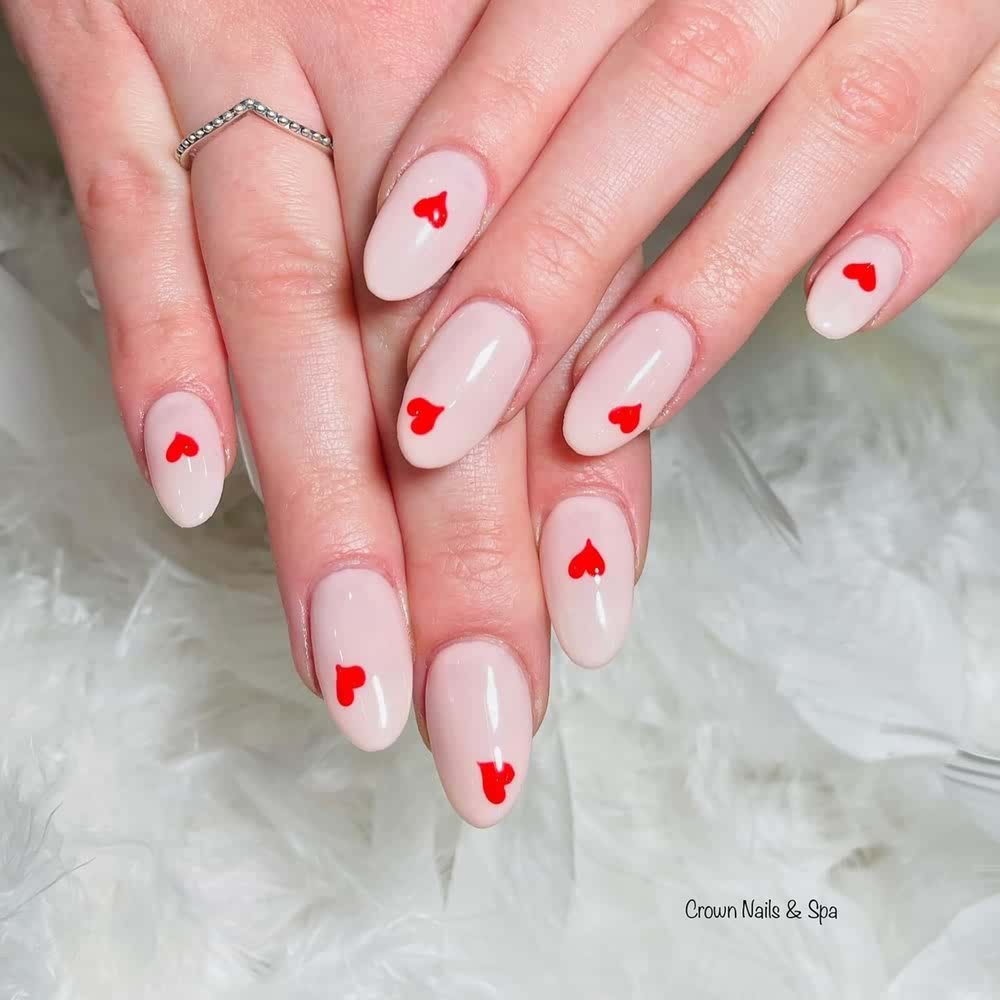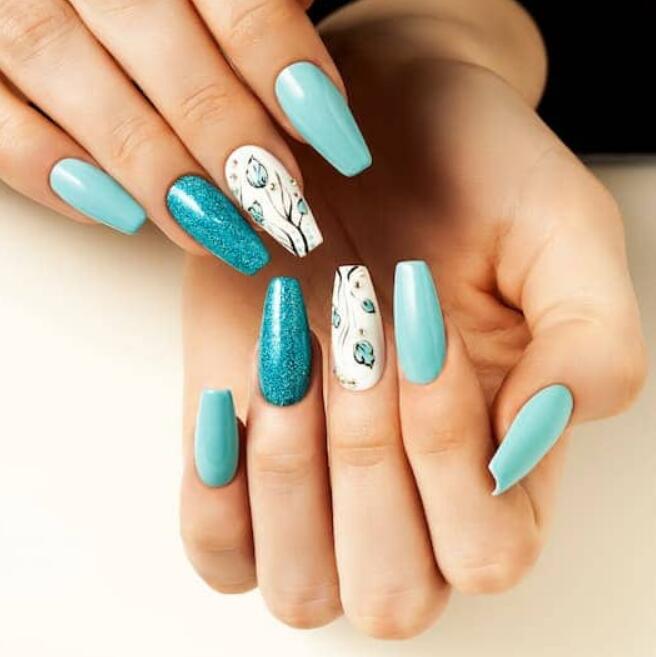
Nails
How To Create Custom NailSnaps Nail Designs
Creating custom nails has never been easier.
Show off what you love. Snap a pic of anything – your fav person, pet, pattern, or color – and turn that image into custom nail art. This post shows you how to create nail designs that are as fun to wear as they are to create!
Starting with the basics, the most important tips is…
MIND THE DOTTED LINE!


Put the entirety of your design between the dotted line and the cuticle. Make sure the must-have parts of your image are closer to the cuticle. Anything beyond the white dotted line will probably not end up on your nail, unless you have very, very long nails or acrylics.
See the part above the dotted line? That’s the part that typically makes it onto your nail once you’ve filled off the excess.

My nail is slightly longer than average at a little over .5 inches (1.3 cm) and once I’ve applied my NailSnaps, it showcases the part of the design that was between the cuticle and the dotted line. Anything close or past the dotted line is likely to be filed off during application so make sure your fav parts of the image are well above the dotted line.
Here’s another example. I have this cute picture of a triangle happy face and I want to make a design with this.


(Please ignore the condition of my cuticles, I didn’t have any hand lotion…)
Most of design elements I wanted got filed off. The poor pinky doesn’t have any design at all, and the pointer finger is just barely hanging in there.
Here’s how it should have been.


Look at the following
- The chevron on ring finger in the stencil seems like it might be tiny, but it comes up halfway between the dotted line and the cuticle. It’s also that way on my finger.
- On the thumb of the stencil, the triangle looks like it’s really close to the cuticle so when printed, the whole triangle is visible on my thumb.
The length between the cuticle curve and the dotted line is about 1.3 cm (just a little bigger than a regular M&M) in the printed NailSnaps wraps. Play it safe and keep the must-have portion of your photo really, really close to your cuticles, especially if you have short nails.
There is ONE exception to The Dotted Line rule, and that is…
Do you have square cuticles?
Look at your cuticles. If they are more angular and square than they are oval and round, and you’re worried about the oval base on the stencil then I have good news for you!
When printed, NailSnaps have a rounded (cuticle) and a squoval (square+oval) side. If you have square cuticles, flip the NailSnaps wrap over and place the squoval edge towards your cuticle.
For this reason, when you design your NailSnaps in the mobile app, you should disregard what I said about the dotted line and push your design to the very edge of the nail.
Designing your custom mani
Zoom and Rotate
You can zoom by pinching and spreading two fingers and rotate the stencil to get any part of the image on your nail.
*NOTE* If you zoom too much into a particular detail on the image, your print might be blurry. It’s best to zoom out to get more details on the NailSnap, so that the print quality is higher, and you get more details on your nail.

Copying. Because we’re all lazy.
Tap inside a nail to copy the design on that nail to other nails. You can copy to however many nails you want. All the nails? ALL THE NAILS!

Lock. That. Sucker. Down.
Lock a design onto a fingernail so you can keep designing the other nails by tapping inside the nail you like and selecting, “Lock This Nail” from the menu.
- Design individual fingers, by placing the stencil over part of the image you like, lock it, and move the stencil to another part of the image to capture another part of the image on other fingers.
- You can hit the “Next” button and it will lock all of the fingers for you where the stencil is laying on the image. This is good if you want a continuous design like a sunset going across your nails.

Now that the most important things are covered, let’s go back a couple steps.
Good lighting, a good design maketh.
If you take dimly lit, blurred photos, your print will also come out dark and blurry. A simple way to remedy this (surprisingly) common issue is to go outside or stand near a window.

If your photos are well lit, they’ll make great designs. If you want to take it to the next level, I recommend upping the brightness, contrast, and sharpness of the image using other apps. Here are a couple of (free!) apps I recommend for this.
- Instagram: I bet you already have this one!
- Line Camera: Line Camera is a great photo editing app.
One last thing.
This screen.

This screen is your design preview – it’s what is going to be printed. So if any of the nails are grey or black, it means it’s blank. Go back and unlock those nails and copy part of your design from another nail! (Unless you want grey or black. Which is fine.)
Now that you know how to make the coolest designs, check out the blog post on How To Apply Nail Wraps to see how to apply your NailSnaps so they look great and last last for-evah.
Got more tips for using the NailSnaps app? Share ’em in the comments! We’re so inspired by the thousands of killer designs you make. Share your best tips and trick here!